
This blog is the second part in the series “How to Install WordPress on Windows IIS”. In the Part 1 we discussed how to install MySQL Server.
Read Part 1: How to Install MySQL Server to Install WordPress on Windows IIS?
Now before we install WordPress on our Windows IIS, we will need to create Database in the MySQL Server. For that we will download phpMyAdmin, below is the detailed process.
Installing phpMyAdmin
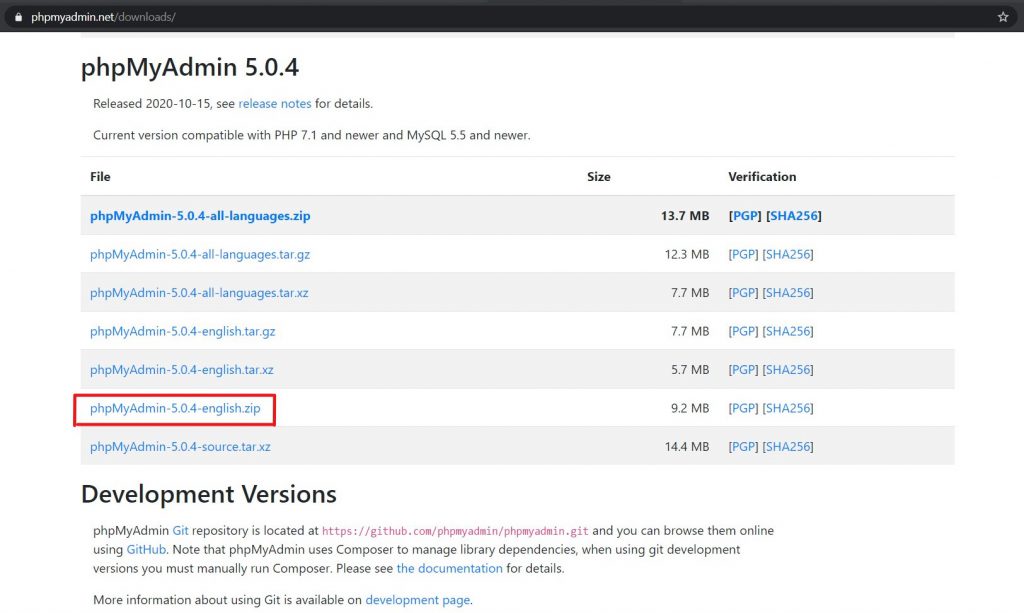
Step 1: Download phpMyAdmin 5.0.4 from https://www.phpmyadmin.net/downloads/.
Step 2: Once the download is complete and unzip the Package.
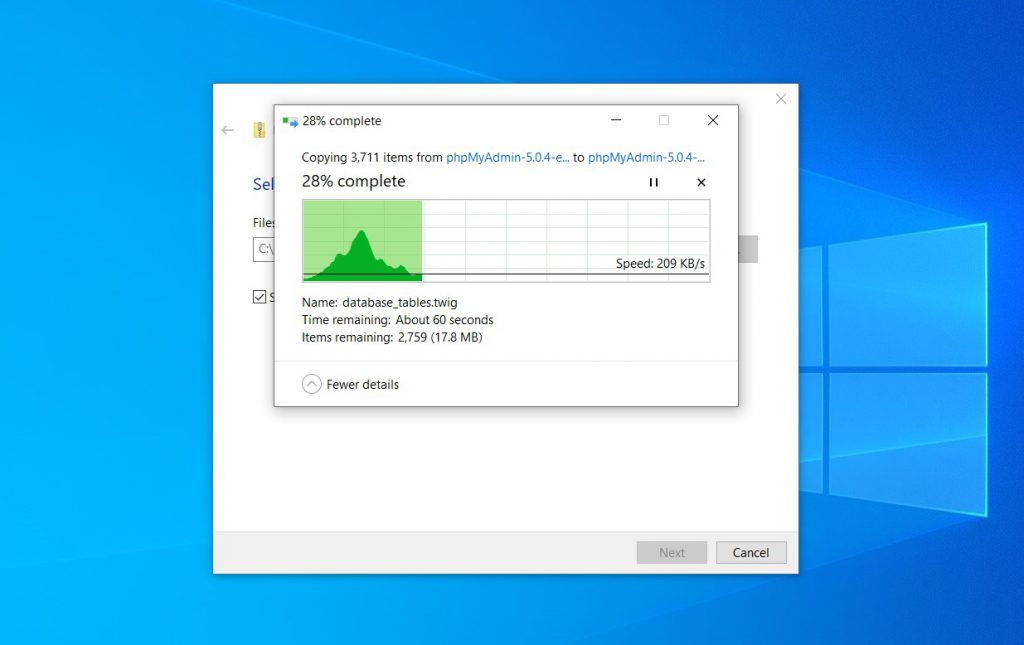
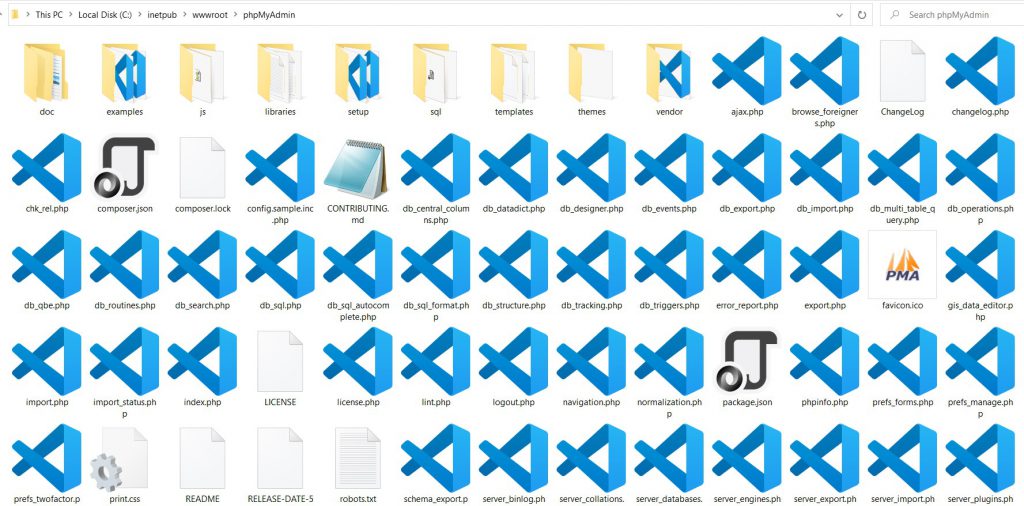
Step 3: Then create a New Folder in C:\inetpub\wwwroot and rename it to “phpMyAdmin”.
Copy the contents of the unzipped folder into the recently created folder “phpMyAdmin”.
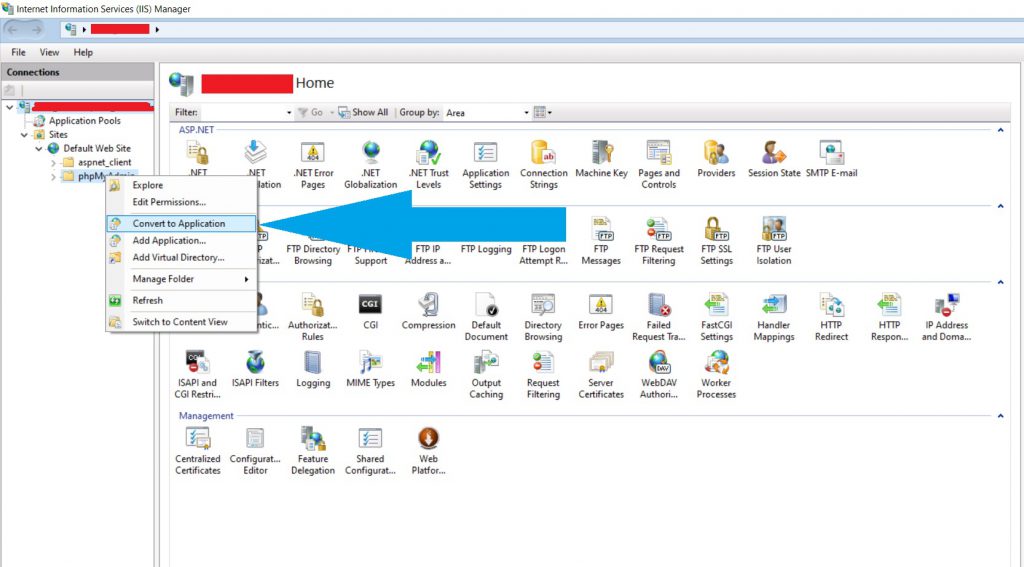
Step 4: Now open IIS on your computer and navigate to the Default Web Site in the Connections tab. Then convert the “phpMyAdmin” to Application. A dialog box will be opened to confirm, then click Ok.
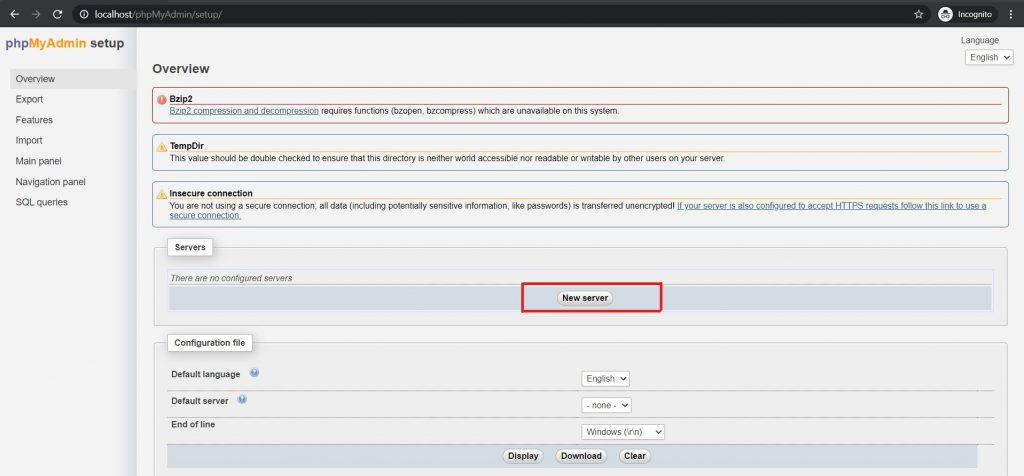
Step 5: Open http://localhost/phpMyAdmin/setup in your browser.
Step 6: In the Servers section, click on New server.
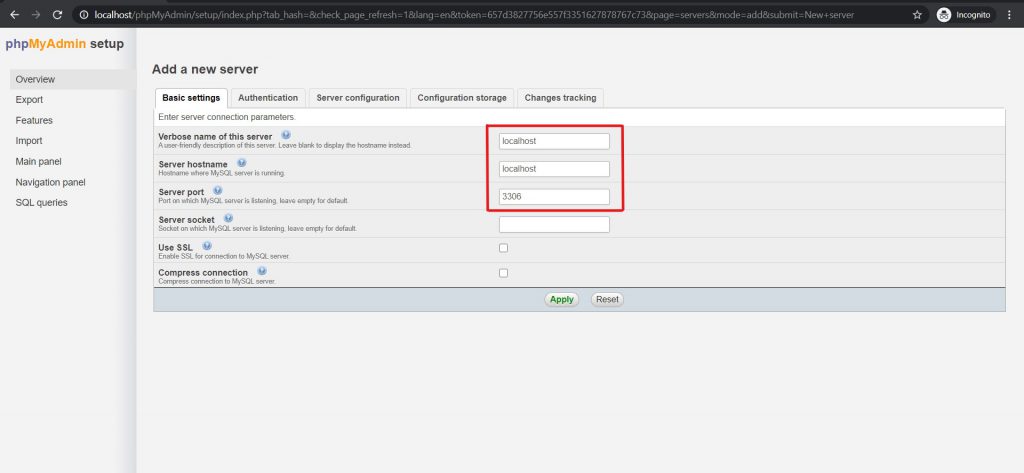
Step 7: Then in the Basic Settings, enter Verbose: localhost, Hostname: localhost, Port: 3306.
Step 8: Go to the Authentication tab then enter password for the root User (The root password that we created during MySQL Server Installation).

Step 9: Click on Apply and then download the Configuration File.
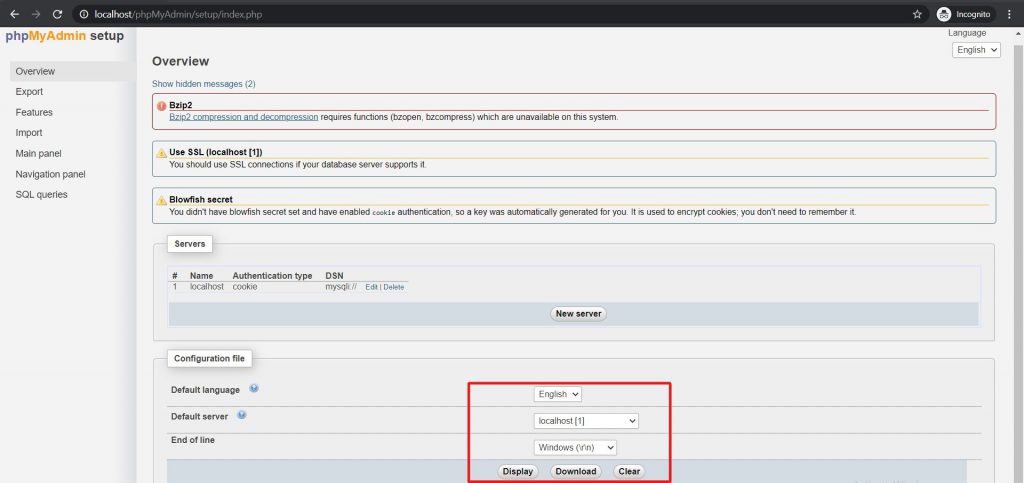
Step 10: Paste the downloaded config.inc.php file in the phpMyAdmin folder.
Here we have successfully set up the phpMyAdmin, now we will create the Database for WordPress.
Creating the Database for WordPress
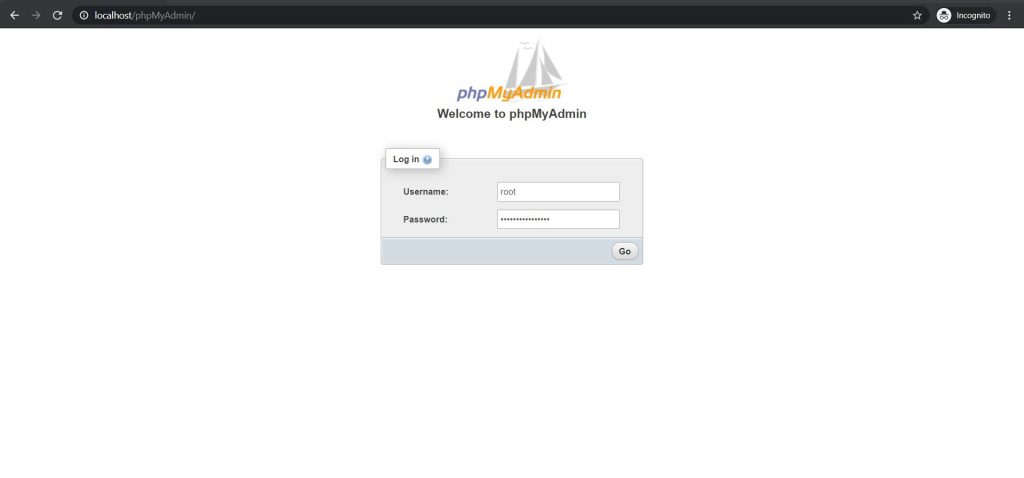
Step 1: Browse for http://localhost/phpMyAdmin/.
Step 2: Log into the phpMyAdmin with “root” in username and enter the root password.
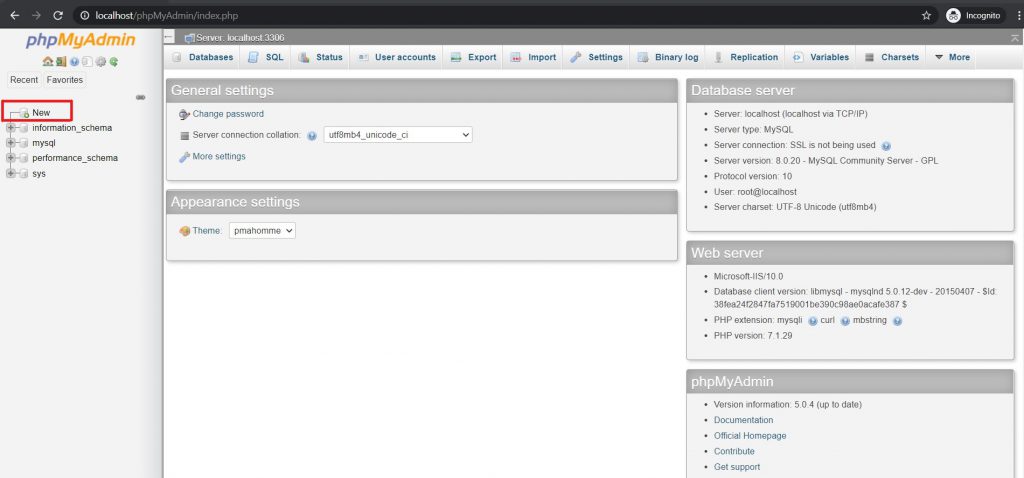
Step 3: Then click on “New” in the left taskbar.
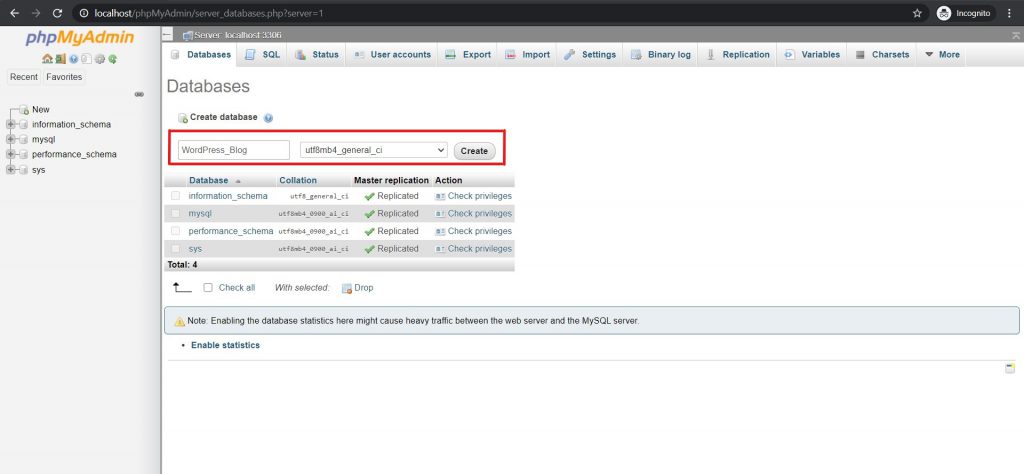
Step 4: Enter the name of new database and choose utfmb4_general_ci in the collation. Then click on Create.
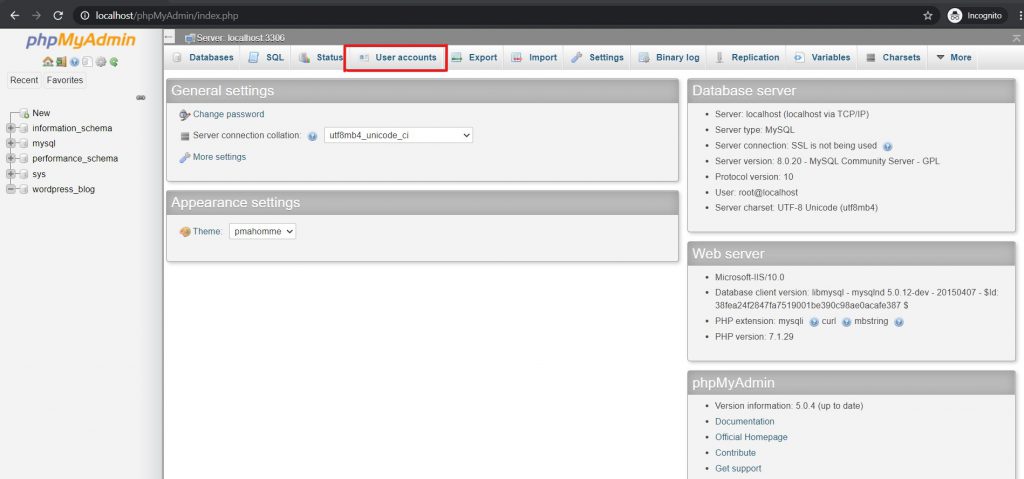
Step 5: Now click on the logo of phpMyAdmin on the Top Left of the Page.

Step 6: In the main menu on the Top, click on User Accounts.
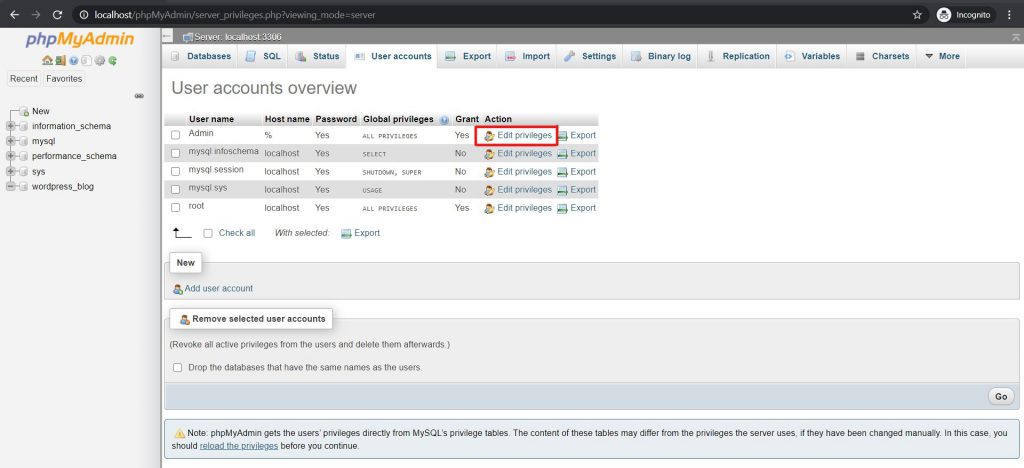
Step 7: Click on Edit Privileges in the Row of the MySQL Server User that we created during the Installation process of MySQL Server.
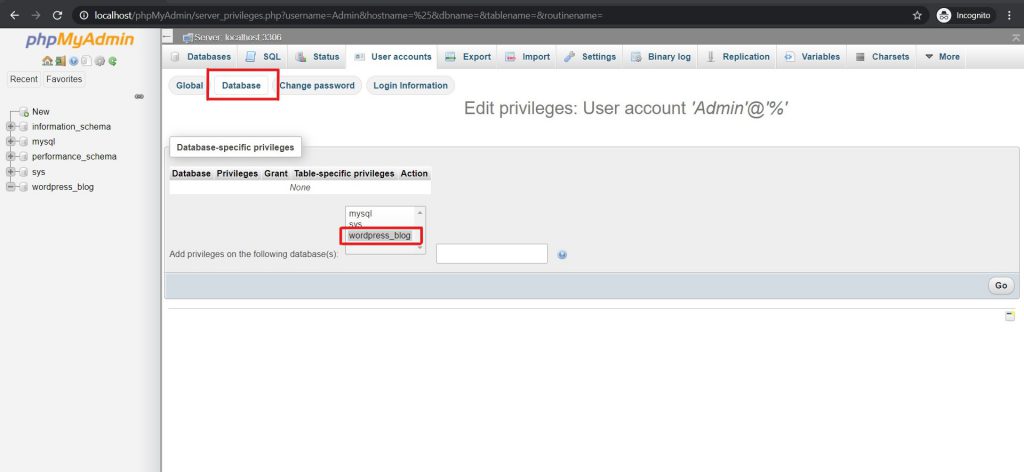
Step 8: Click on Database, choose the Database that we created and Click on GO.
Step 9: Click on Check All in the Database Specific Privileges and Click on GO.
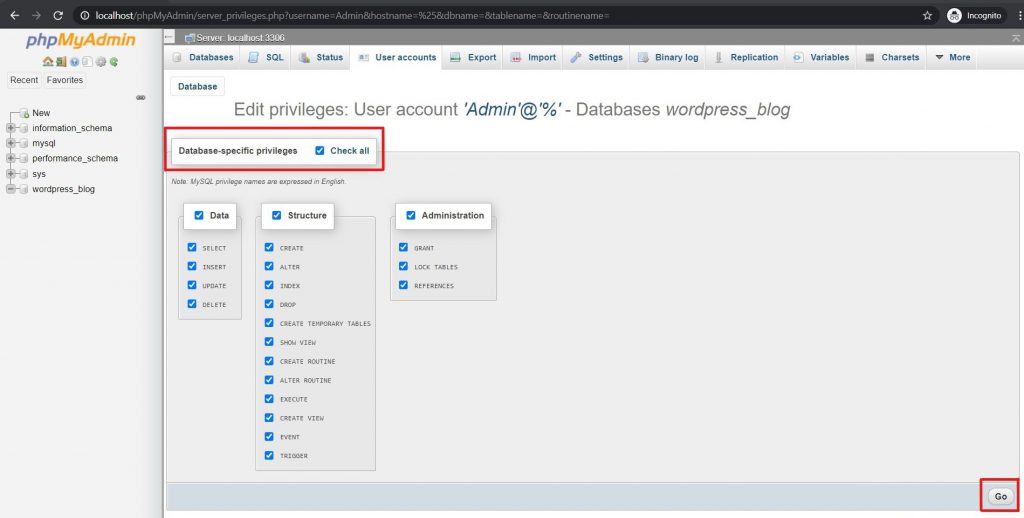
We have created the Database for our WordPress Blog. Now we are just One step away from running one of the best and powerful CMS, the WordPress, on our Windows IIS Server.
Part 3 (Final Part): How to Install WordPress and Host it Locally.
If you find any difficulties or if there is any suggestion, feel free to ask me in reply below. You may also contact me here.


Pingback: How to Install WordPress on Windows IIS in 2020? Detailed Tutorial Part-1
Pingback: How to Install WordPress on Windows IIS in 2020? Detailed Tutorial Part-3