This blog is the third and final part in the series “How to Install WordPress on Windows IIS”. In the Part 1 we discussed how to install MySQL Server. In the Part 2 we installed phpMyAdmin and created a new Database for our WordPress Blog in MySQL Server.
Read Part 1: How to Install MySQL Server to Install WordPress on Windows IIS?
Read Part 2: How to Install phpMyAdmin and Create a Database for WordPress?
Now we will download and install WordPress on our Windows IIS and then we can enjoy WordPress.
Downloading WordPress on Windows
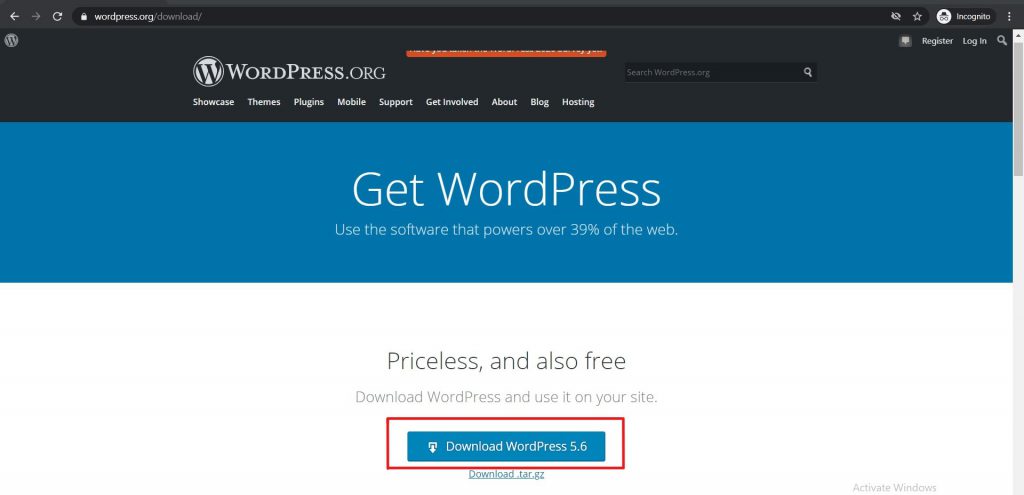
Step 1: Download WordPress from https://wordpress.org/download/.
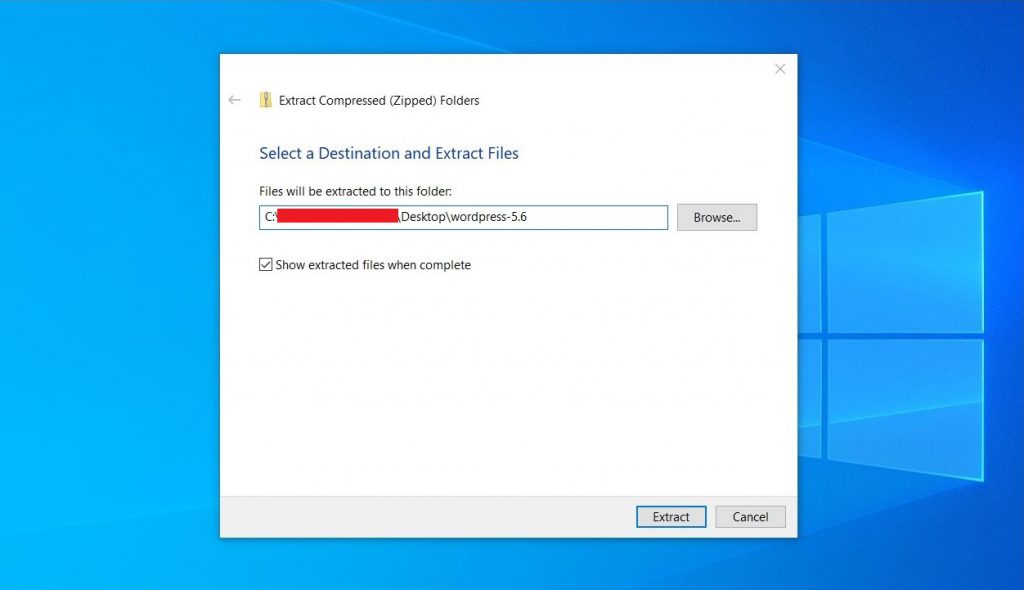
Step 2: After the download gets complete, unzip the Package.
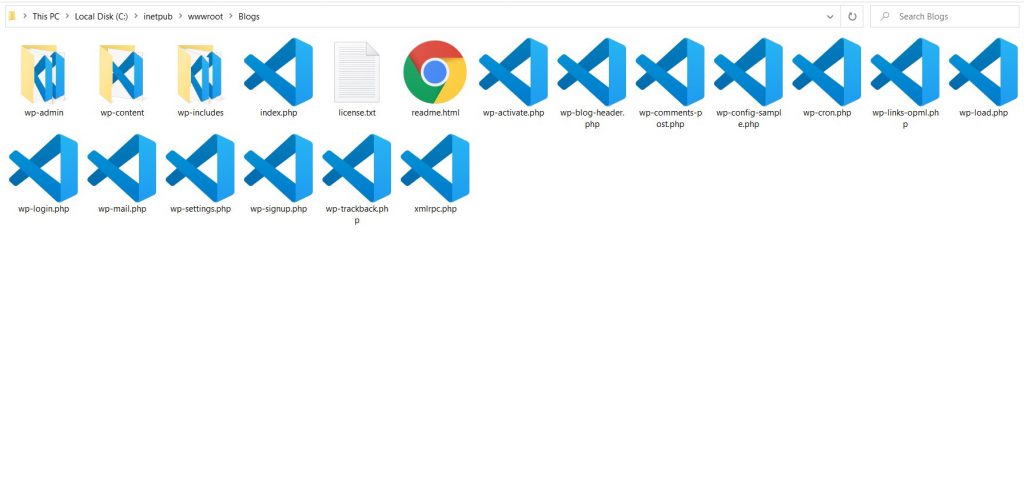
Step 3: Create a New Folder in C:\inetpub\wwwroot and rename it to let us say “Blogs”. You can name it whatever you want.
Then copy the contents of the extracted folder in new created Folder.
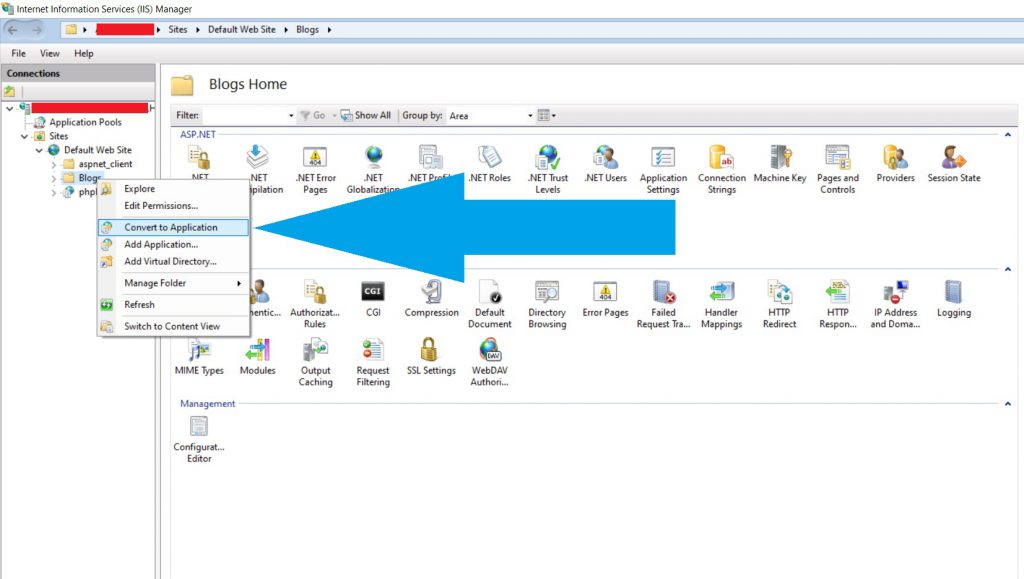
Step 4: Now go to IIS on your computer and navigate to the Default Web Site in the Connections tab. Then convert the “Blogs” (or the folder you created) to Application. A dialog box will be opened to confirm, then click Ok.
Step 5: Grant Required Permissions to IIS_IUSRS and IUSR in Windows IIS, as mentioned in the video below. [This is an Important Step].
We have downloaded the WordPress successfully. Now we will install and do the basic setup of the WordPress in the browser.
Installing WordPress
Before we begin the final setup, there are three scenarios in which you can install the WordPress.
- As an Independent Website, for example https://MyWordpressBlog.com.
- As a Website on a Subdomain, for example https://MyWordpressBlog.MyWebsite.com/.
- As an Application on an existing Website, for example https://MyWebsite.com/MyWordpressBlog/.
In the first 2 cases, if you want to run your blog over HTTPS then you will have to install the SSL Certificate before you start the final setup of the WordPress.
The URL at the time of final setup will be automatically saved in the database and if we do not install the SSL Certificate before that, the unsecured HTTP URL will be saved in the Database.
And in the third case, if we set up the WordPress as an Application, there is no need to install SSL Certificate separately. SSL Certificate of the Main Website will work for WordPress too in that case.
Now I assume that you have finalized your SSL Certificate strategy and we are good to go with the Final Setup.
The Final Step
Step 1: Browse http://localhost/blogs/wp-admin/install.php.
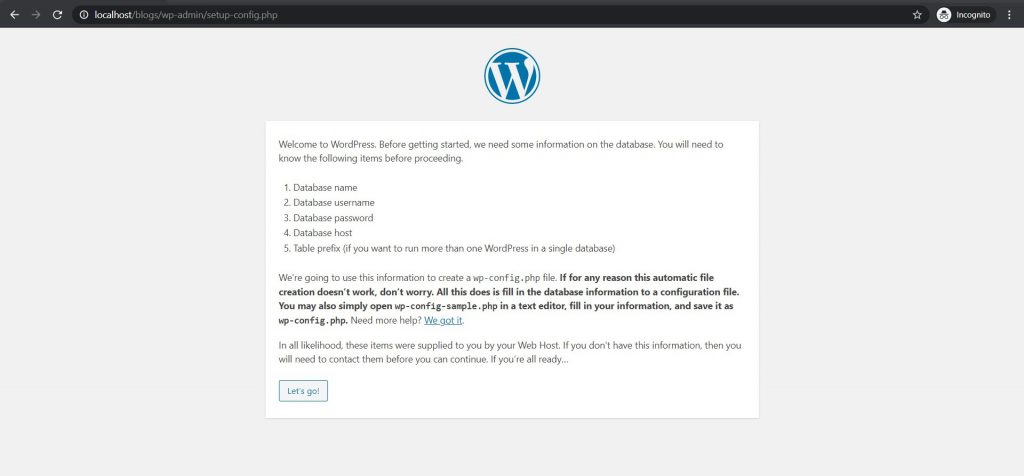
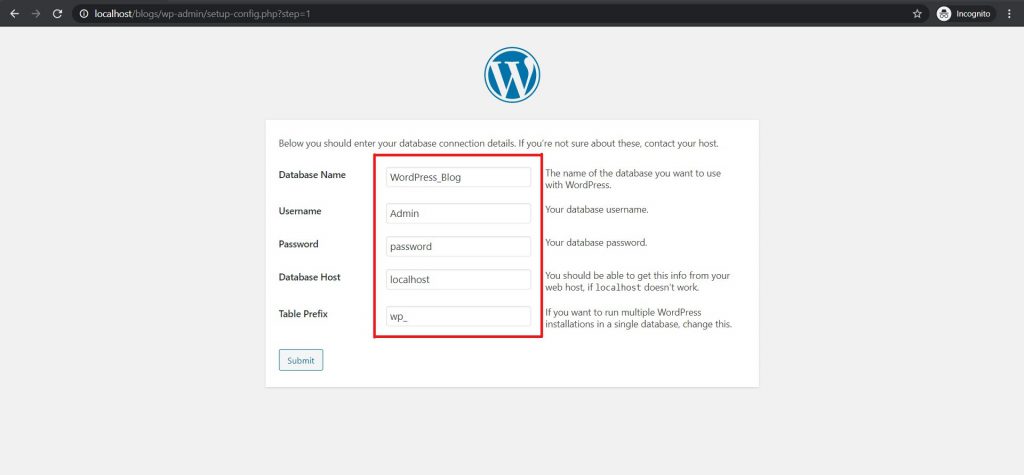
Step 2: Here fill-in the name of the Database along with the User and Password created in phpMyAdmin and then Submit.
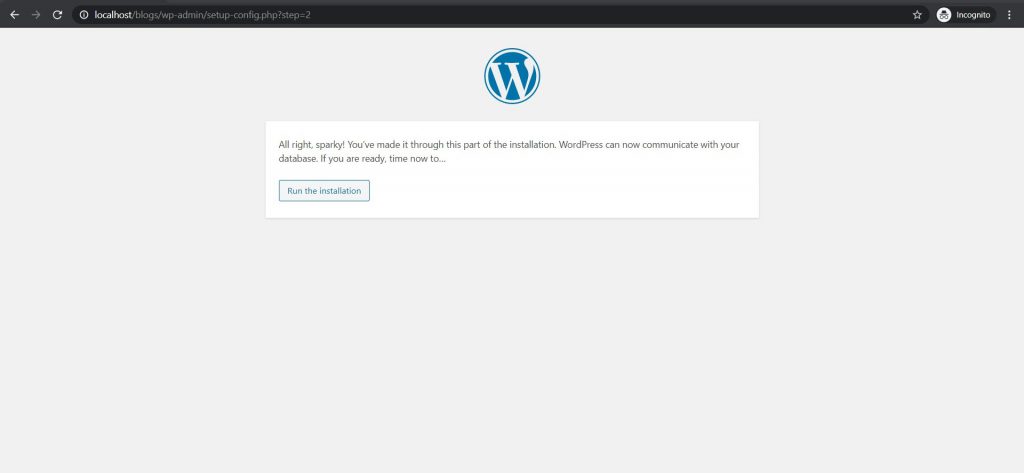
Step 3: Then on the next page, click on Run the Installation.
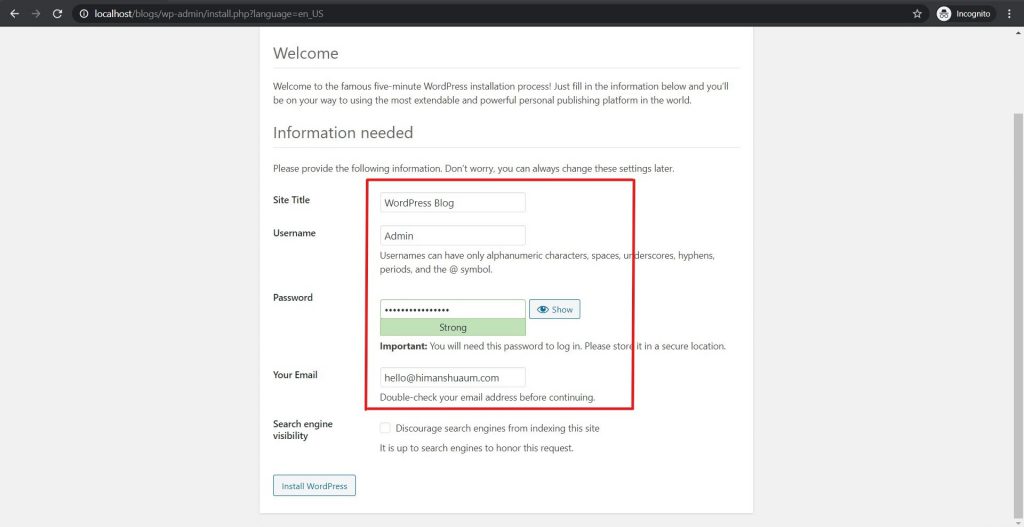
Step 4: Now enter the Site Title and Email ID. And enter a new Username and Password that will be required for future login purposes. STORE THESE DETAILS in safe place, without these you will not be able to login into the WordPress Admin Dashboard.
Then click on Install WordPress.
Step 5: On the next page, click on Install WordPress and wait, it will take few minutes to complete the installation.
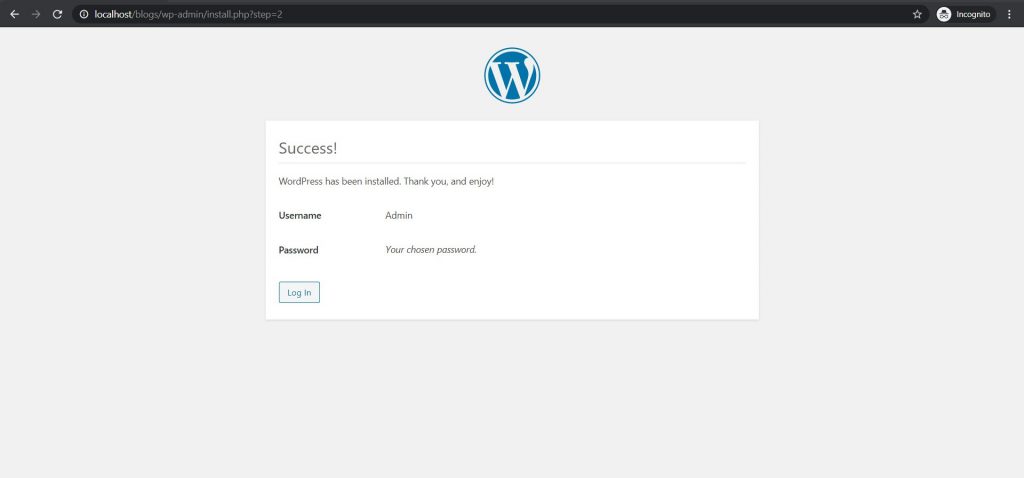
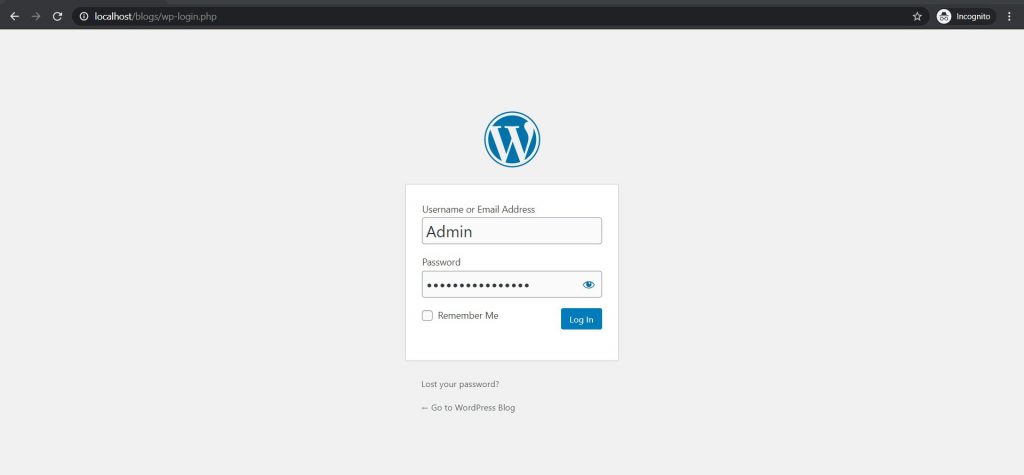
Step 6: On Success Page, click on Login and enter the User Credentials that you just created.
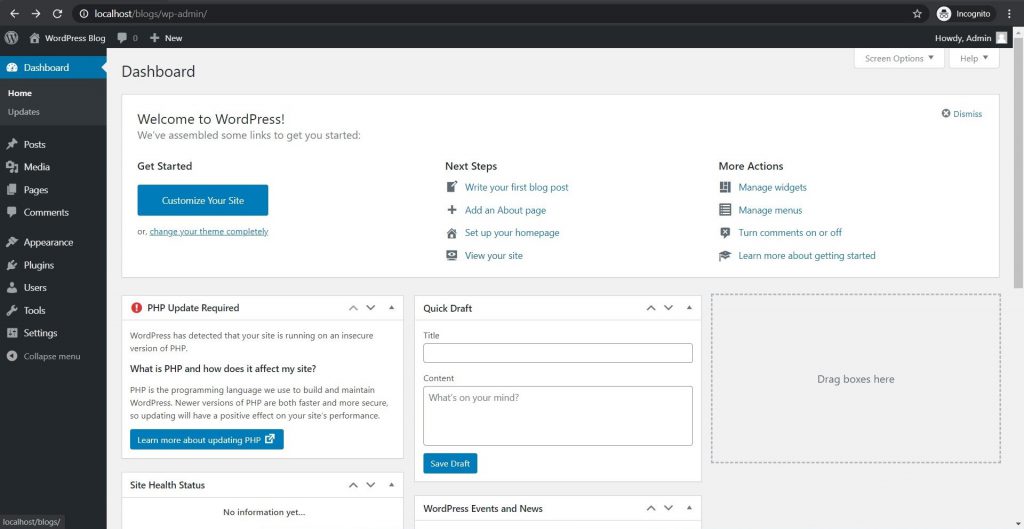
Step 7: After logging into the system, you will be redirected to the Admin Dashboard of WordPress.
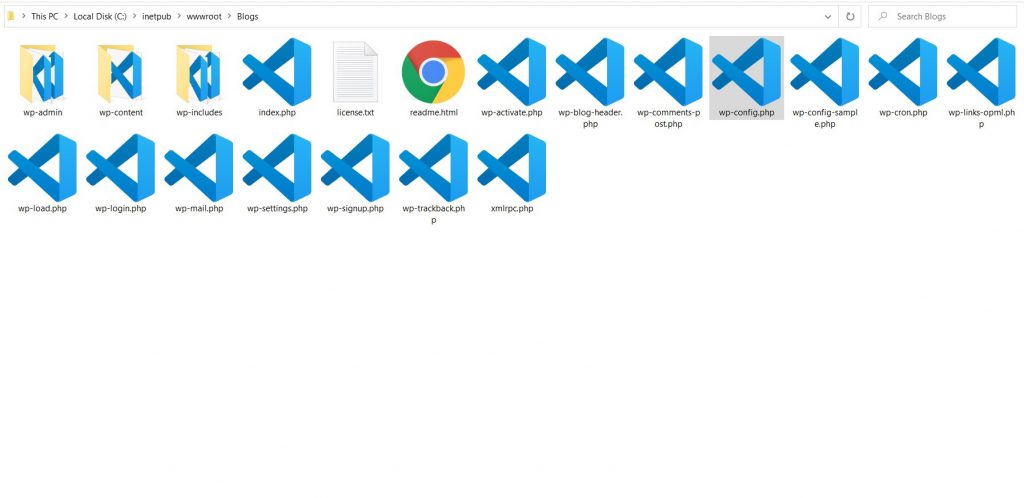
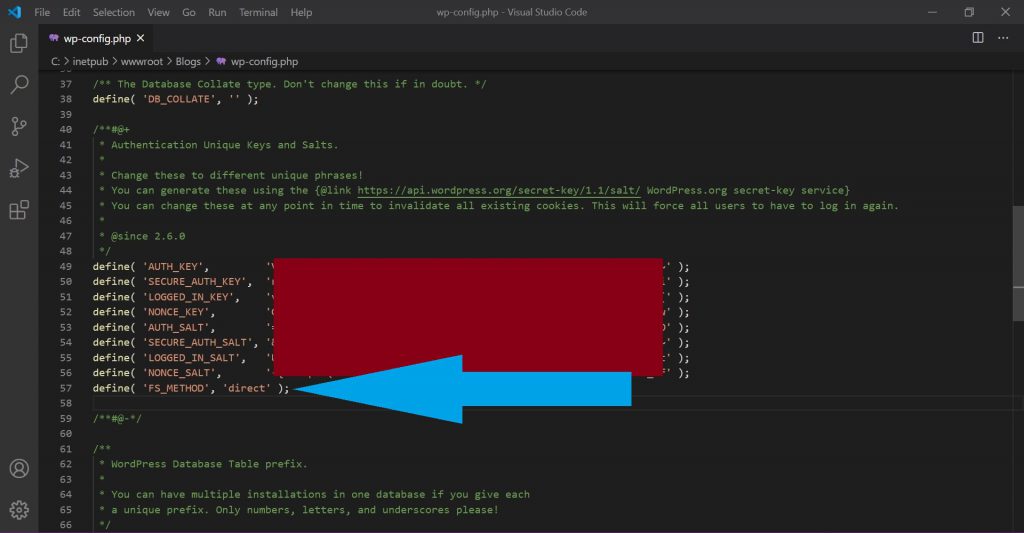
Step 8: Now go to C:\inetpub\wwwroot\Blogs and locate the file wp-config.php. Open a text editor in “Run as Administrator” mode. I am using Visual Studio Code.
Then open the file wp-config.php in the text editor opened as Administrator.
Step 9: Then scroll down a bit in the opened file and insert define( ‘FS_METHOD’, ‘direct’ ); after the following section. This step is required to upload any image / file on the blog in future through WordPress Admin Dashboard. Now save the File.
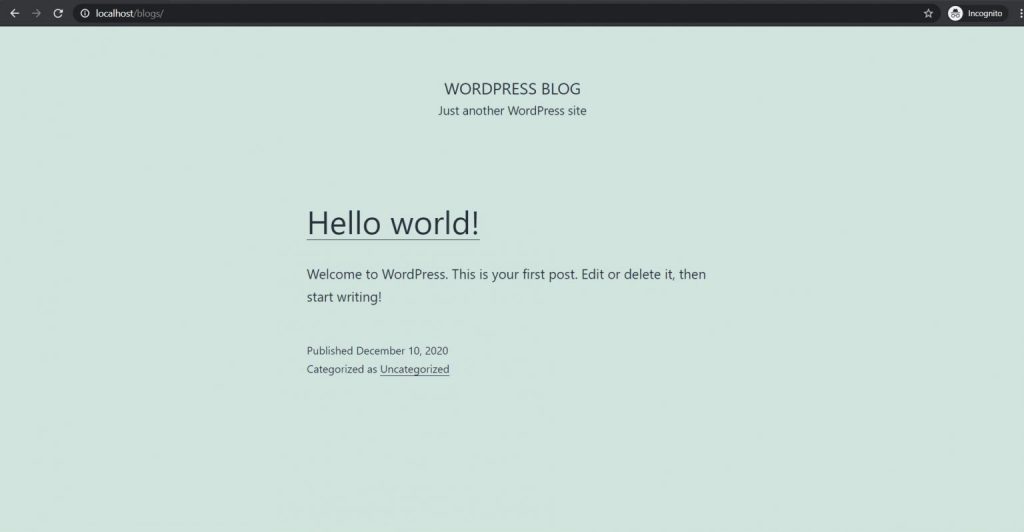
Step 10: Then open http://localhost/blogs/ on your browser.
Hooray! Your WordPress is now successfully installed and working on the Windows IIS.
This is the Final Part in the blog series “How to Install WordPress on Windows IIS”.
Must Read: See How to Update PHP Version for the WordPress in Windows IIS. With IIS running on older versions of PHP, the WordPress will run too slow on the Windows.
Read the previous parts here:
Part 1: How to Install MySQL Server to Install WordPress on Windows IIS?
Part 2: How to Install phpMyAdmin and Create a Database for WordPress?
If you find any difficulties or if there is any suggestion then feel free to ask me in reply below. You may also contact me here.

Pingback: How to Install WordPress on Windows IIS in 2020? Detailed Tutorial Part-2
Pingback: How to Install WordPress on Windows IIS in 2020? Detailed Tutorial Part-1